Suzhou Oushida Hot Melt Machinery Equipment Co., Ltd.
18 years of experience in R&D and production of hot melt adhesive spraying equipment and automation equipment
18 years of experience in R&D and production of hot melt adhesive spraying equipment and automation equipment


Installation, use and storage of Oushida hot melt adhesive machine


Company Profile
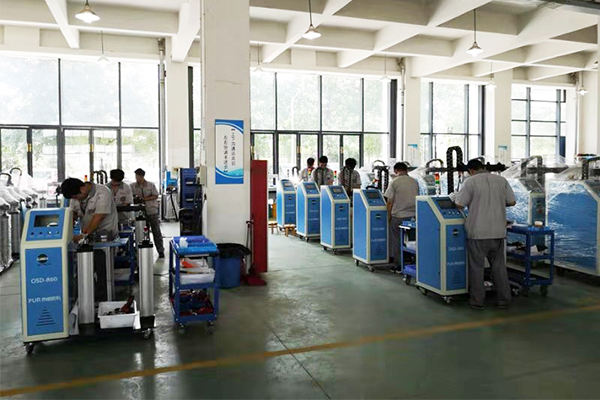
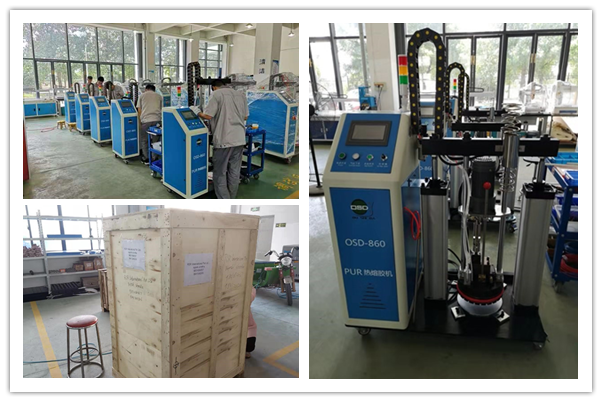
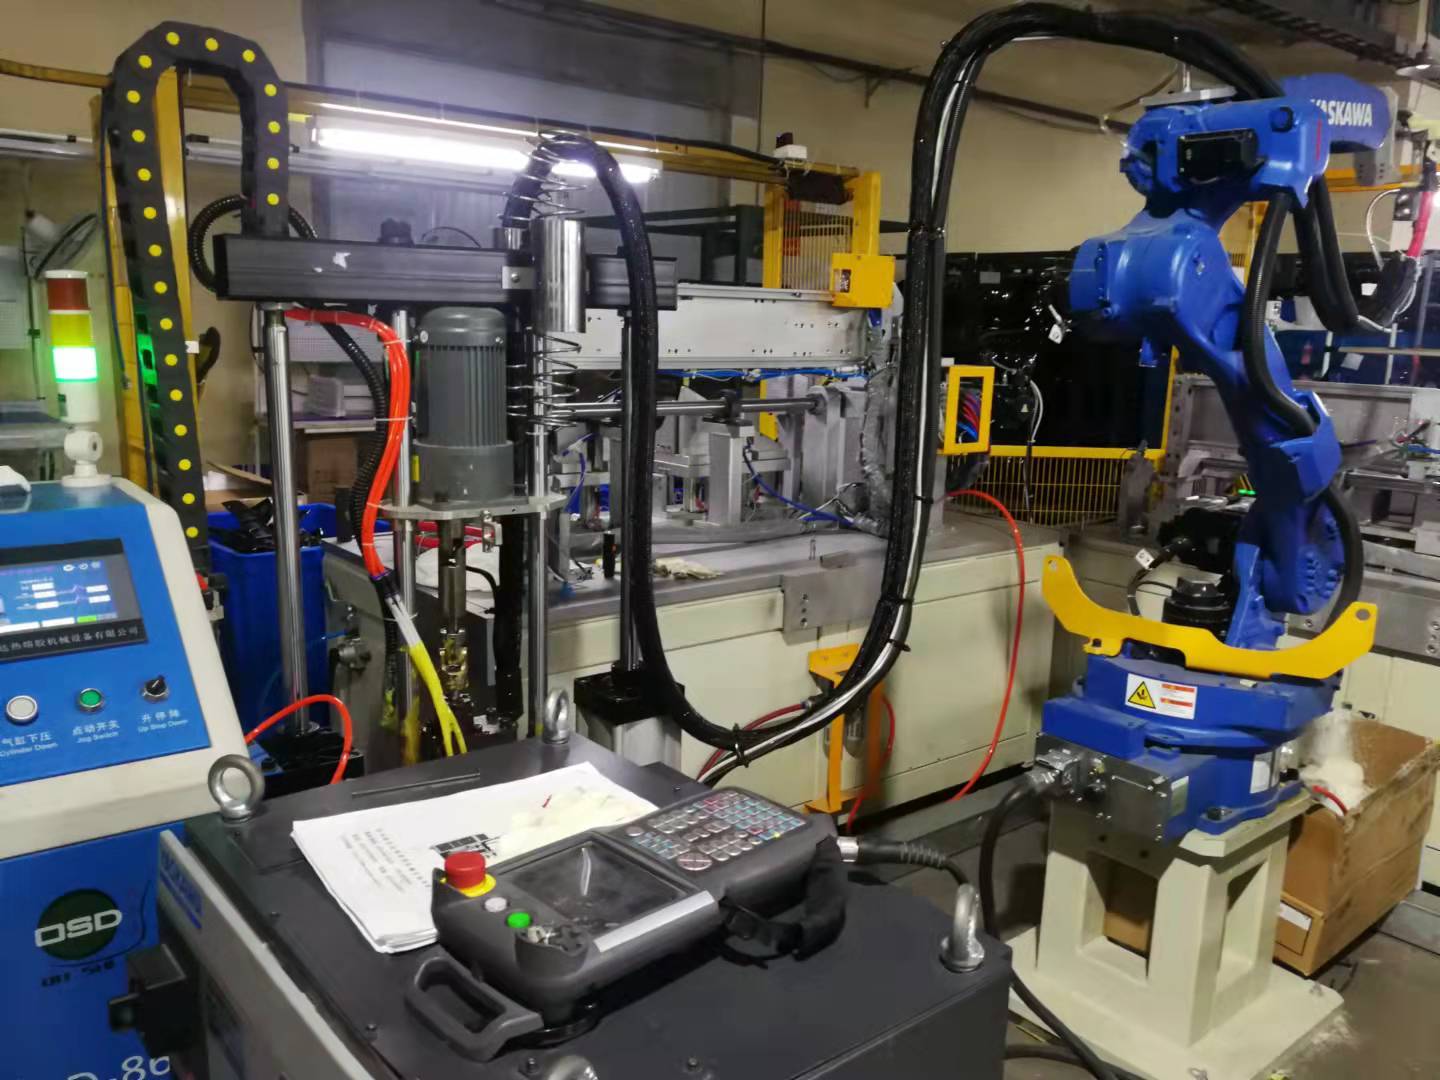
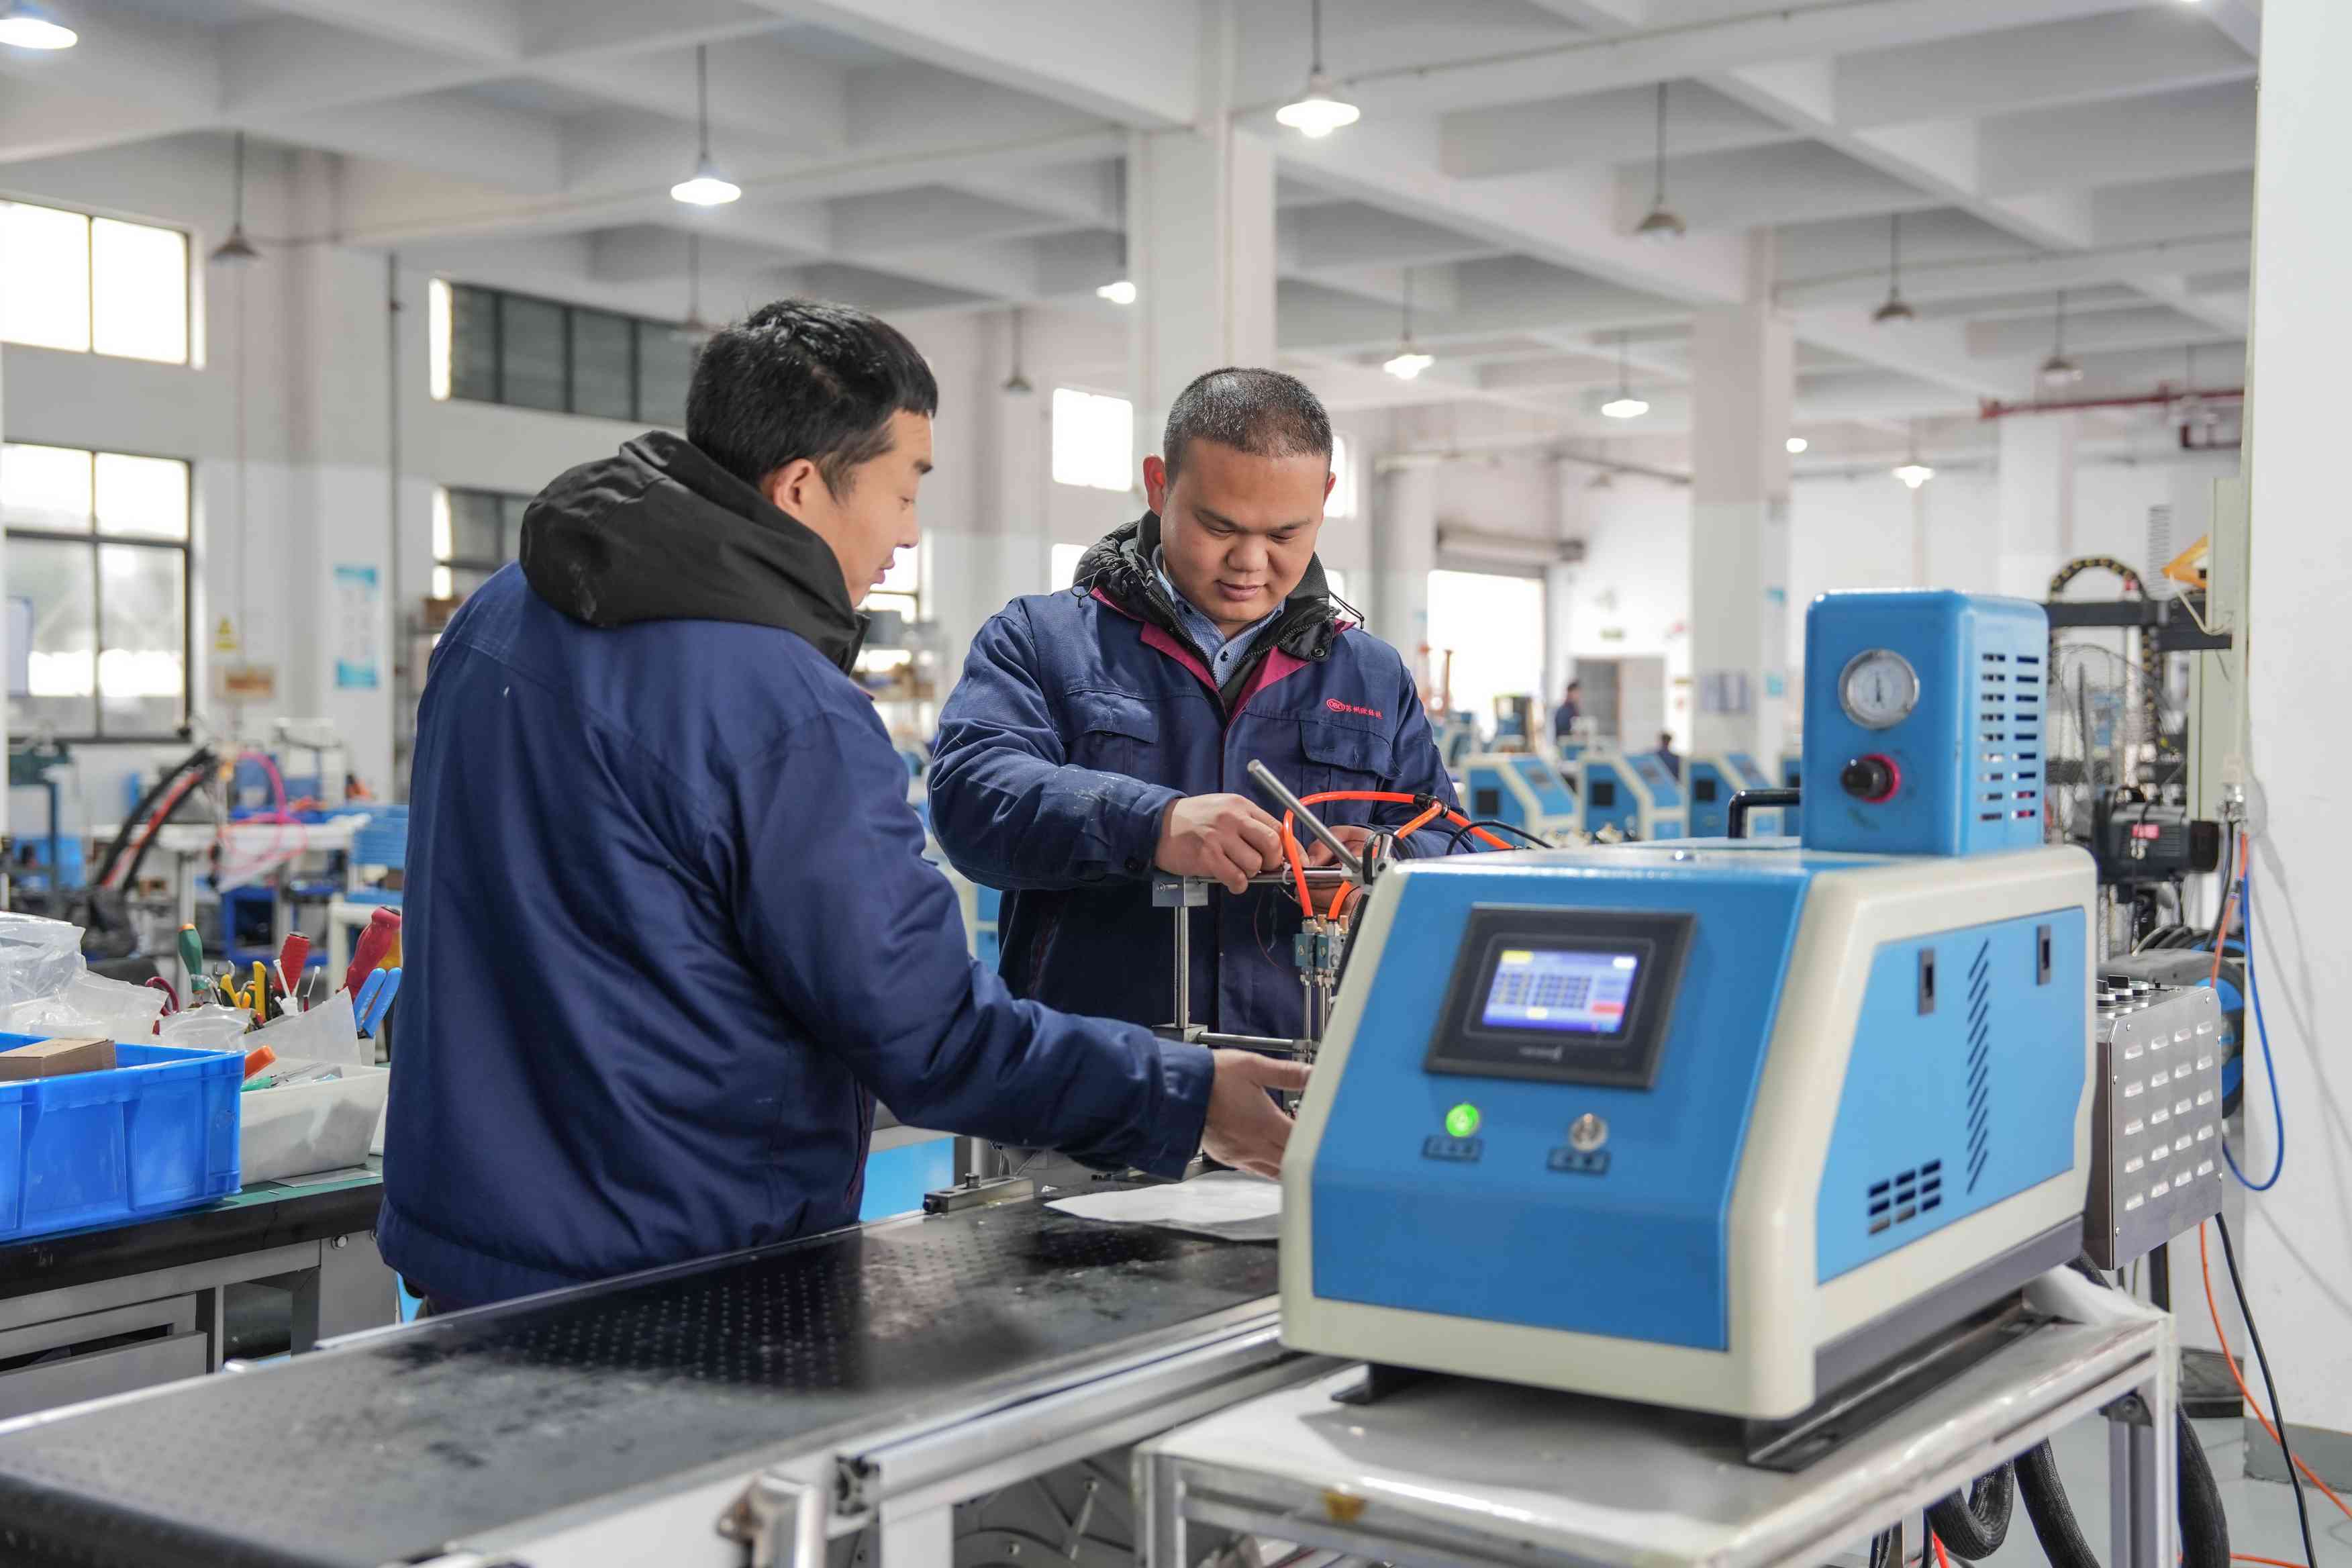
Suzhou Oushida Hot Melt Adhesive Machinery Equipment Co., Ltd. is a high-tech enterprise specializing in the research and development, production, sales and technical consulting of hot melt adhesive intelligent spraying equipment.
Installation and initial use of hot melt adhesive machine

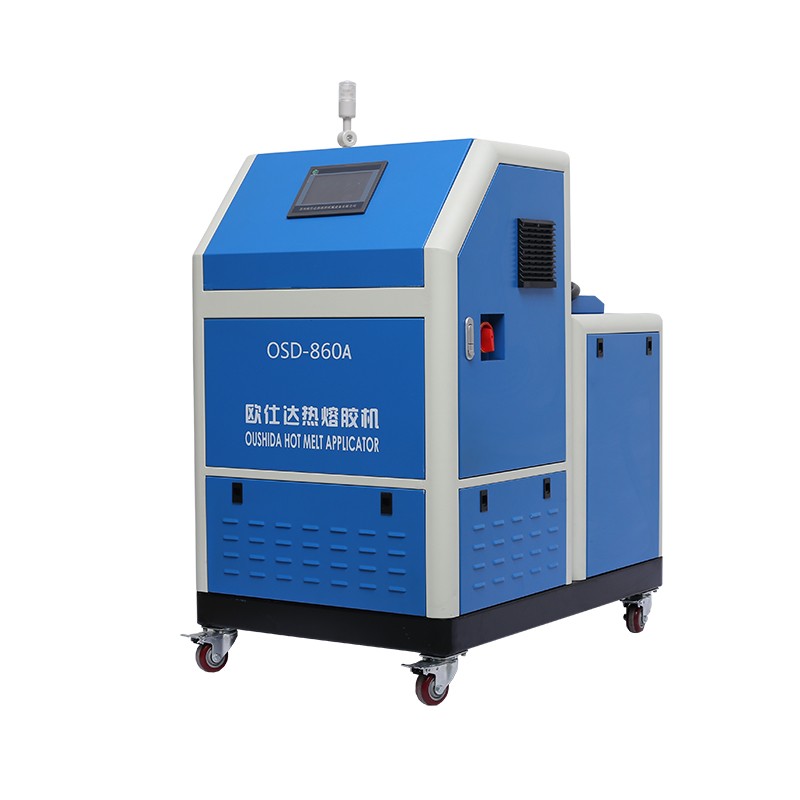
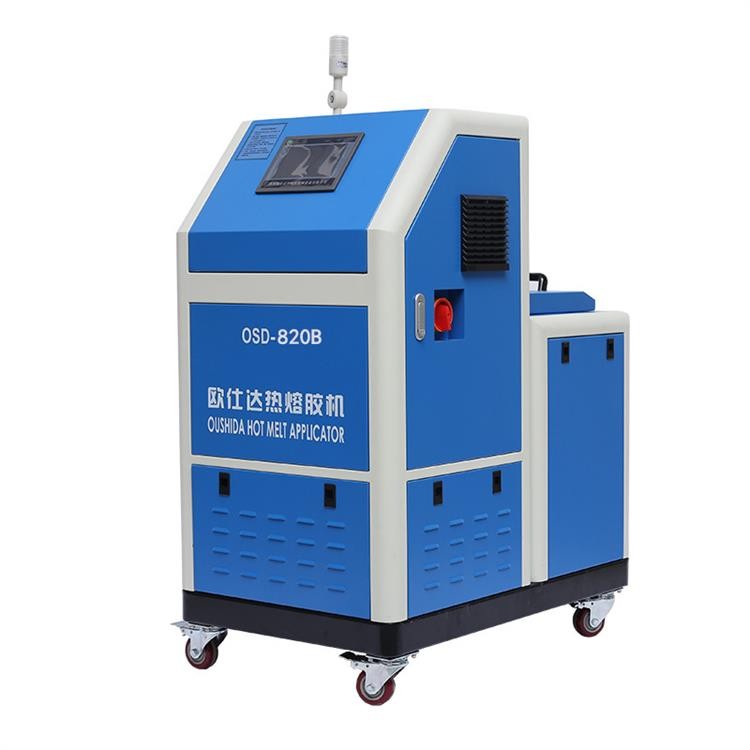
1. Hot melt glue machine handling:
A small-capacity hot melt glue machine can be carried by two people, each lifting one end and holding the bottom bracket. Do not use ropes or hooks, and do not stand on the glue machine.
2. Hot melt glue machine fixing:
The glue machine can be installed on a flat surface or a bracket, and the main power supply circuit and other control communication lines can pass through the bottom.
3. Installation of hot melt glue machine:
After the hot melt glue machine is fixed, please follow the steps below to install it:
01. Make sure that the power supply switch and the main power switch of the glue machine are both in the off state.
02. Connect the correct power supply line to the switch and connect the ground wire.
03. Connect the hot melt glue hose to the glue outlet of the glue machine, and connect the aviation plug of the hose to the connection of the main machine. Remember that the bending radius of the hose must not be less than 20cm. Do not press heavily or tie the hose with metal.
4. Add hot melt adhesive:
The adhesive level in the melt tank should be 80% of the total capacity of the glue tank. When the glue output is large, glue should be added frequently. When the glue in the melt tank is empty, adding a large amount of hot melt adhesive at one time will make the melt tank temperature lower than the equipment ready temperature point. Please pay attention to the time of adding glue to avoid delaying production.
5. Replacement of hot melt adhesive:
When replacing two different types of adhesives or adhesives that affect each other, the system needs to be thoroughly cleaned.
6. Startup
01. Add clean hot melt adhesive to the melting tank and immediately close the cylinder cover to prevent dirt from entering.
02. Turn on the main power switch on the control panel, the display starts to display, and the glue melter starts to heat up.
03. Wait for the preheating time (about 20-30 minutes), and the glue has melted.
04. After each area reaches the set temperature, the glue pump can start working.
7. Temporary equipment storage and preservation methods
01. Use a cleaning night to clean the system. For specific operations, see maintenance.
02. Release the pressure and turn off all power supplies.
03. Clean or replace the filter device. For specific operations, see maintenance.
04. Release the residual air pressure.
05. Remove the residual hot melt adhesive and clean the parts.
06. Remove all air lines and power supply wires.
07. Package the equipment.
08. Store in a safe place.
8. Equipment handling methods
01. Turn off all air pressure and power devices.
02. Release the remaining air pressure.
03. Remove all remaining hot melt adhesive.
04. Remove all remaining hot melt adhesive on the hose and other accessories.
05. Remove all accessories and sort them into mechanical parts and electronic parts.
06. Arrange all parts for recycling.
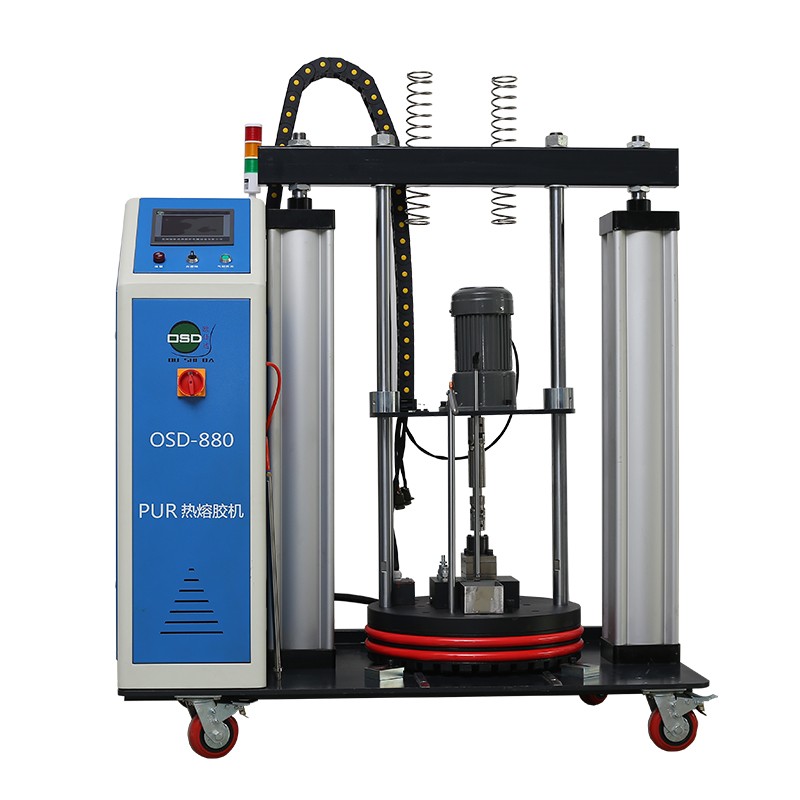
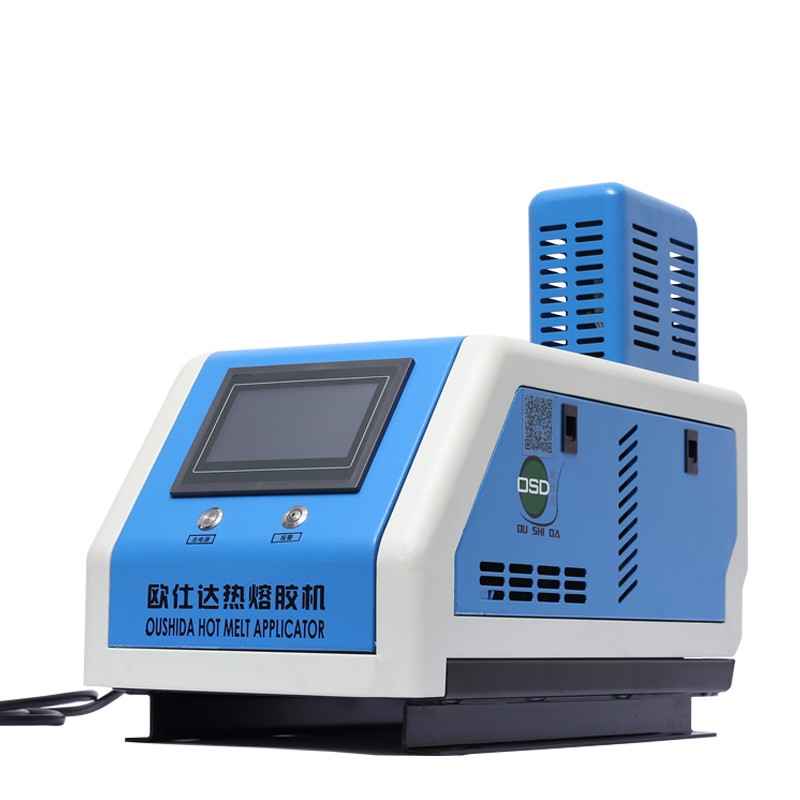
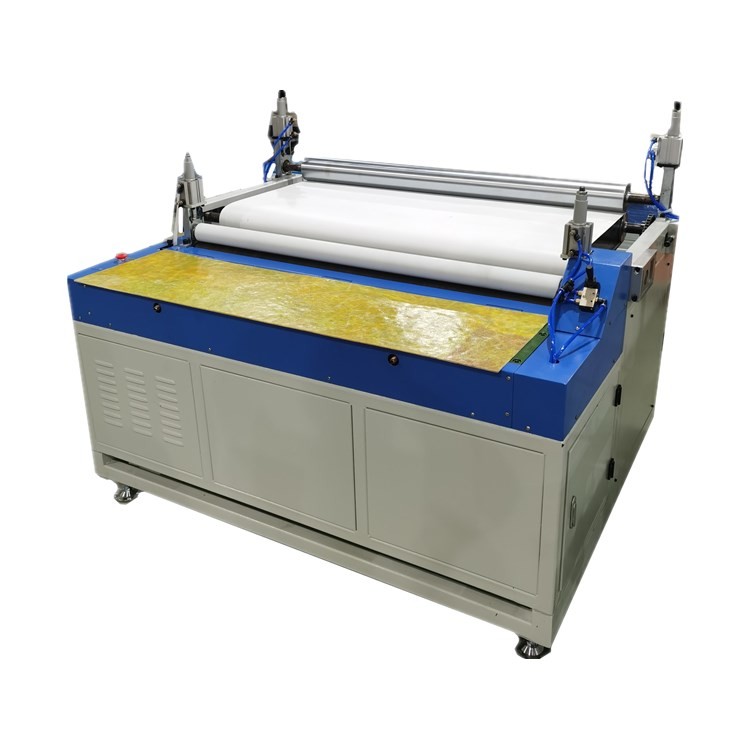
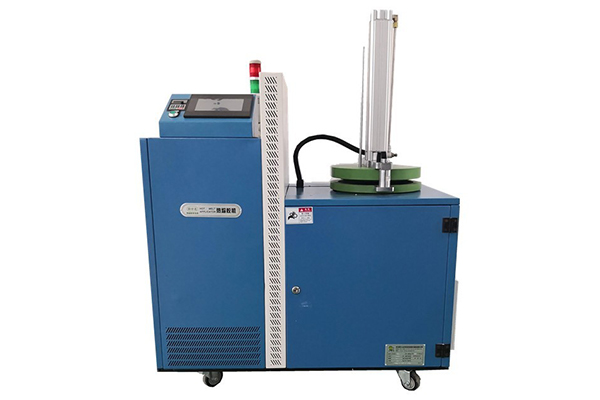
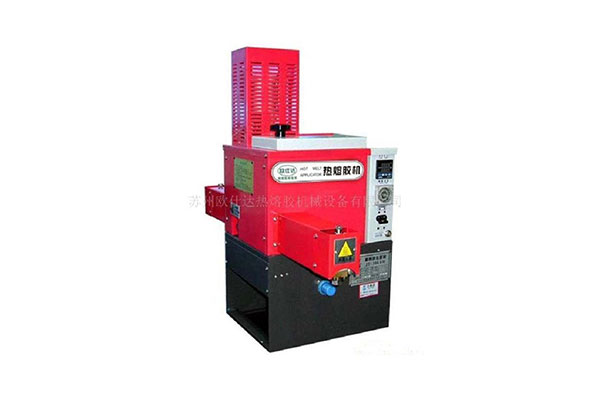
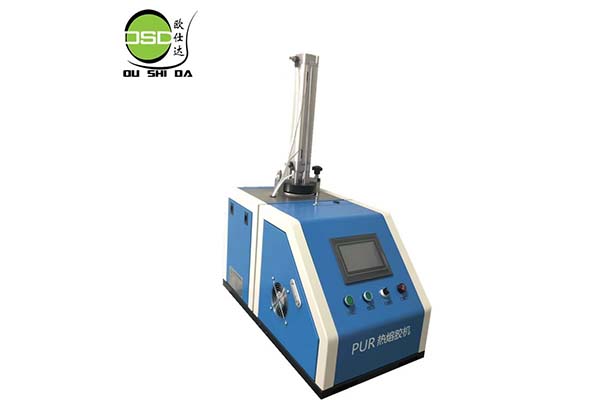
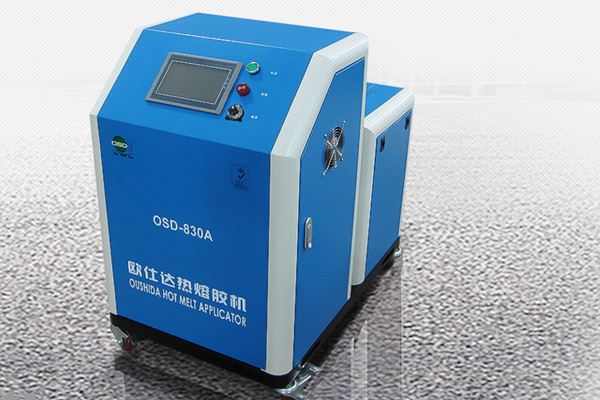
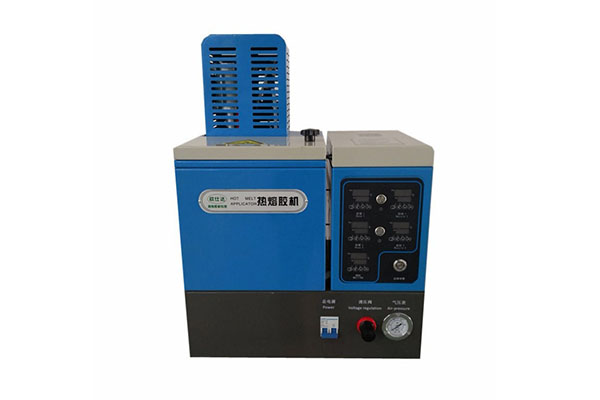
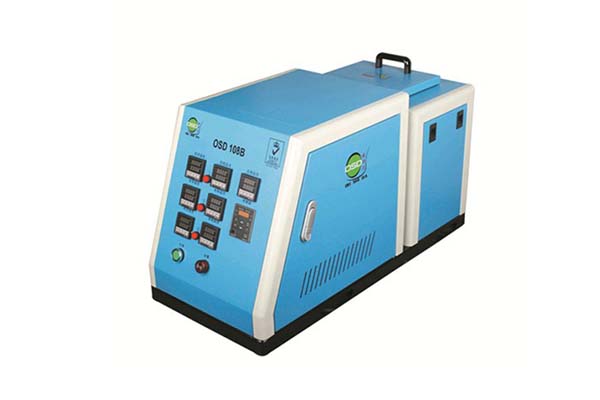
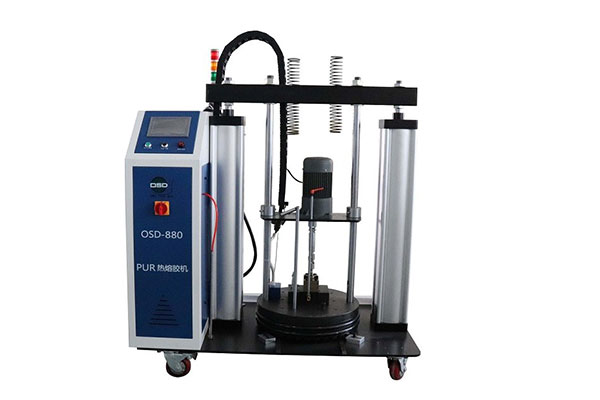
List of Oushida hot melt adhesive spraying equipment